

One brown ceiling stain can turn into dripping water surprisingly fast once a Malaysian downpour settles in. The important thing is to find the entry point and seal the right part of the roof — not simply paint over the mark indoors.
This guide shows you how to inspect a likely roof leak safely, choose a suitable repair material, and make a sensible short-term repair before the next monsoon. It is for accessible, minor leaks; widespread damage, a sagging ceiling, or a steep roof needs a roofing professional.
Phase 1: Find the Source Before You Seal a Leaking Roof
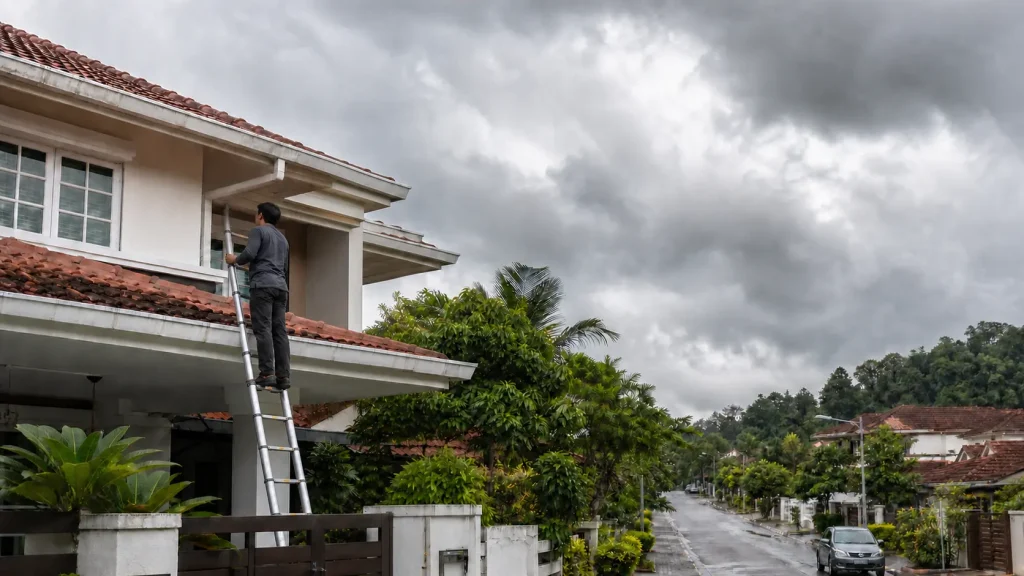
Water often travels along a rafter, roof sheet, or cable before it appears on your ceiling. Start by tracing the leak back from the stain, then inspect the roof only when it is completely dry and the weather is calm. Never climb onto a wet, brittle, steep, or visibly damaged roof.
Check the ceiling and attic first
Use a torch to look above the ceiling, if your home has safe attic access. Damp insulation, dark timber, rusty nail tips, or a wet trail on the underside of roofing can point towards the entry area. Mark the spot with masking tape so you can compare it with the outside of the roof.
If the ceiling is bulging, keep clear of it and move furniture away — trapped water can make plasterboard or ceiling panels fall. Switch off power to the affected circuit if water is near a light fitting, then arrange professional help.
Inspect the usual entry points outside
From a secure ladder or a safe viewing position, look for damage around these common trouble spots:
- Cracked, slipped, or missing tiles — rain can enter through an exposed overlap or a hairline crack in a concrete roof tile.
- Flashing around walls, chimneys, vents, and skylights — lifted edges, split sealant, or loose fasteners let water in where two surfaces meet.
- Roof sheets and screw holes — on metal roofs, failed rubber washers and rusted screw holes are frequent leak points.
- Valleys and gutters — leaves, moss, and sediment can hold water back until it overflows beneath roofing edges.
- Ridge caps — loose mortar or cracked bedding along the roof peak can let wind-driven rain enter.
For basic checks such as measuring a patch or cleaning a reachable gutter, a well-chosen home ladder makes the job safer and more controlled. It is not a substitute for roof-access equipment on a high or steep roof.

Phase 2: Choose the Right Material to Seal a Leaking Roof
Roof sealant is not one universal product. Match it to the roofing material and the size of the defect; a tube of silicone may bridge a small joint, but it will not repair a broken tile or a corroded metal sheet.
| Leak point | Best first repair | Avoid |
|---|---|---|
| Small crack in a concrete tile | Replace the tile; use compatible roof sealant only as a temporary edge seal | Coating the whole tile with indoor wall paint |
| Gap at flashing or a roof penetration | Exterior-grade polyurethane or neutral-cure roof sealant | Applying sealant over wet, loose material |
| Metal roof screw hole | Replace the screw with a roofing screw and new EPDM washer; seal only if specified | Reusing a perished washer |
| Small split in metal sheet | Reinforced butyl repair tape or a roof patch system | Ordinary duct tape |
| Hairline crack in a flat concrete roof surface | Flexible waterproof coating or membrane system | Rigid cement alone where movement is likely |
Buy for outdoor exposure, not just convenience
Look for a product labelled for exterior roof or flashing use, UV resistance, and adhesion to your roof material. Roof sealants, butyl tape, replacement screws, and waterproof coatings are commonly available from Malaysian hardware shops and platforms such as Shopee or Lazada, but read the technical label rather than relying on a product photo.
Typical small-repair supplies may cost roughly RM20–RM60 for a cartridge of quality sealant, RM25–RM80 for butyl repair tape, and RM50–RM150 or more for a small waterproof coating kit. Prices vary by brand and coverage; a cheap product that fails after one hot-and-wet season is rarely the bargain it looked like.
Prepare the surface properly
Sealant only adheres as well as the surface beneath it. Remove loose old sealant, dirt, algae, and rust flakes with a stiff brush, then let the area dry fully. If you are dealing with a non-roof crack or gap elsewhere around the house, this guide to choosing filler, putty, or sealant can help clarify why flexible sealants and rigid fillers are used for different jobs.
Phase 3: Make a Small Roof Leak Repair Before Heavy Rain
Once the roof surface is dry and you have identified a small, accessible defect, work methodically. Aim for a clean repair that sheds water with the roof slope rather than creating a thick blob that traps debris.
Seal a flashing gap or small joint
- Brush and wipe the joint until it is clean, sound, and dry.
- Cut the sealant nozzle to suit the joint width and apply one continuous bead without gaps.
- Press the bead into the joint with a gloved finger or finishing tool, keeping the upper edge neatly feathered so water runs over it.
- Leave it to cure for the full time stated on the product label before rain exposure.
Do not seal over flashing that has pulled away substantially or is corroded through. It needs to be refastened or replaced so the repair has a stable base.
Patch a small split in metal roofing
Clean the metal beyond the damaged area and dry it completely. Cut a piece of roof-rated butyl tape with at least 50 mm of overlap around the split, round the tape corners, then press it down firmly from the centre outward to remove air pockets. If the metal is thin, rusty, or flexes around the hole, treat tape as an emergency measure and book a roofer to assess the sheet.
Replace a visibly damaged tile
A cracked or displaced tile is usually better replaced than coated. Carefully lift the overlapping tiles, slide out the damaged piece, and fit a matching replacement so its overlaps sit correctly. If several tiles are cracked, the battens are exposed, or you cannot safely reach the area from a stable position, stop there — this is a repair for a roofing contractor.
[image 4: applying-roof-sealant-to-flashing-malaysia]

Phase 4: Check Your Repair Before the Rain Arrives
Do not wait for the first storm to discover a missed gap. Once the product has cured, inspect the repaired area and carry out a controlled water check with a garden hose from ground level or another safe position.
Test a section at a time
Start below the repair and let water run gently over one area for several minutes, then move upwards. Have another person watch indoors for moisture. A hard jet sprayed uphill can force water into places normal rain would not, so use a rain-like flow rather than pressure washing the roof.
Keep water moving away from the roof
- Clear reachable leaves and sediment from gutters and valley outlets.
- Check that downpipes are not blocked or overflowing near walls.
- Look again after the next light rain for fresh staining or damp timber.
- Keep photos and dates of the leak and repair if you may need a contractor or insurance assessment.
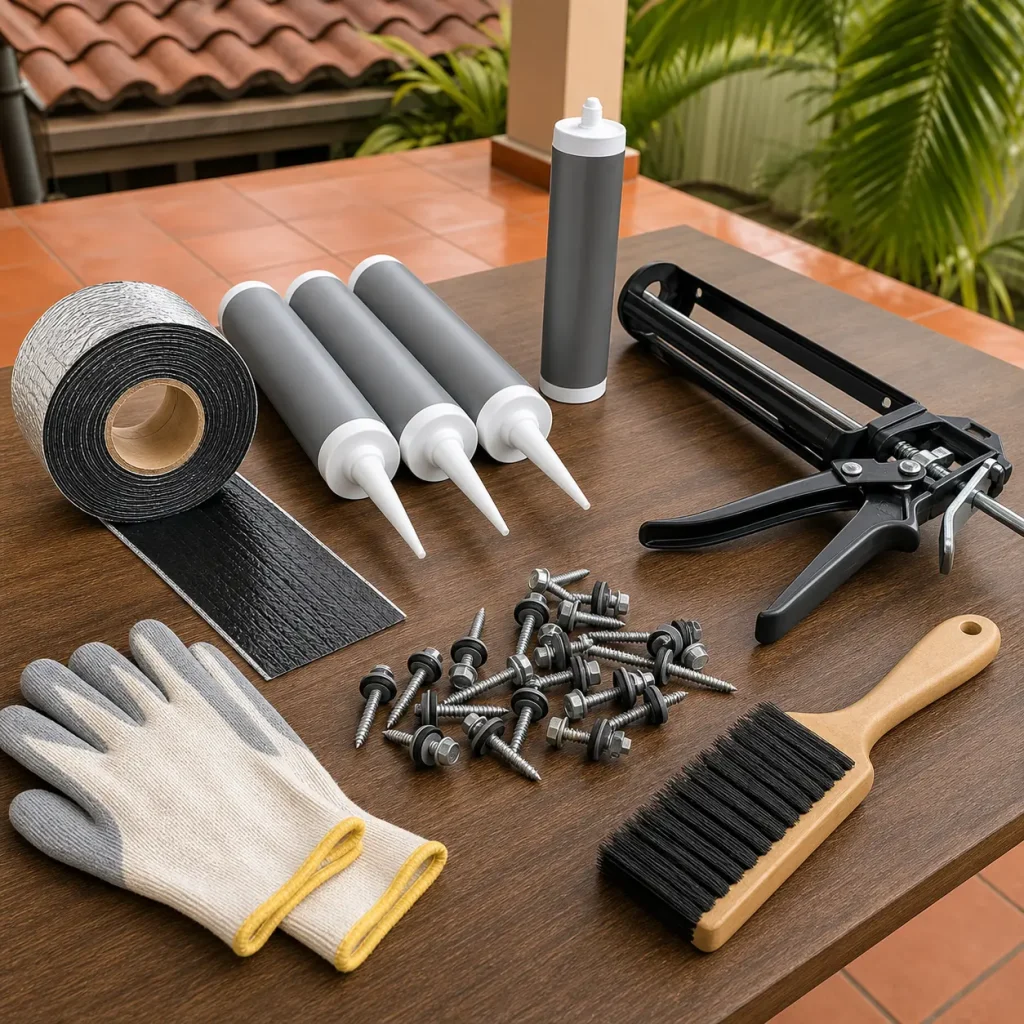
Your repair kit does not need to be elaborate. A torch, gloves, brush, tape measure, sealant gun, and basic hand tools cover many small checks — see FixRight’s guide to essential tools every homeowner should own if you are building one before the weather turns.
When a Roof Sealant Repair Is Not Enough
Call a qualified roofing contractor promptly when the leak comes from more than one area, the roof has widespread rust or broken tiles, or water returns after a proper small repair. You should also get professional assessment for a roof that sags, has damaged rafters, has a large membrane failure on a flat roof, or requires you to work near power lines.
An indoor ceiling stain may also be caused by plumbing, condensation, or a leaking air-conditioning drain. If your roof inspection finds no clear cause, a professional leak test is more useful than repeatedly adding sealant to random joints.
Final Thoughts: Stop the Small Leak Early
The best way to seal a leaking roof before the monsoon is to diagnose the entry point, use a repair material designed for that surface, and give it time to cure while the roof is dry. A tidy targeted repair is more reliable than covering every visible joint with sealant.
Check the roof, flashing, gutters, and ceiling before the weather becomes urgent. FixRight is here with practical Malaysian home-maintenance guides to help you make safer decisions — whether the job is a simple patch or one to hand to a professional.
Inspect the leak on the next dry day, repair only what you can reach safely, and get a roofer involved before the rain makes a small fault expensive.