

Changing a ceiling fan looks simple until you are standing on a ladder, holding a heavy motor above your head, wondering which wire goes where. That is exactly why learning how to change a ceiling fan safely matters — the job combines height, weight, moving parts, and household electricity.
This guide walks you through what to check before replacing a fan, the tools you need, and the safe replacement process for typical Malaysian homes — condos, terrace houses, apartments, and older properties with concrete ceilings.

Phase 1: Before You Learn How to Change a Ceiling Fan Safely
Before touching the fan, decide whether this is a straightforward replacement. A simple replacement usually means you are removing an old fan and installing a new fan at the same ceiling point, using the same switch location.
If the work involves new wiring, a new ceiling point, burnt cables, tripping breakers, no earth wire, or an unstable ceiling hook, do not treat it as a normal DIY job. Electrical work in Malaysia should be done safely and in line with local electrical practice, especially where testing and wiring changes are involved.
Safe DIY Replacement Conditions
This job is more suitable for a confident DIY homeowner when all these conditions are true:
- The new fan is going into the exact same ceiling point.
- The old fan worked before removal, without sparks, burning smell, or frequent tripping.
- The ceiling hook or mounting point is solid and not rusty, loose, cracked, or bent.
- You can safely reach the fan with a stable ladder.
- You can fully switch off the circuit at the DB box and verify the power is off.
- The new fan manual matches the type of installation you already have.
When to Call an Electrician Immediately
Use this as the main stop-work checklist. Call a professional if you notice:
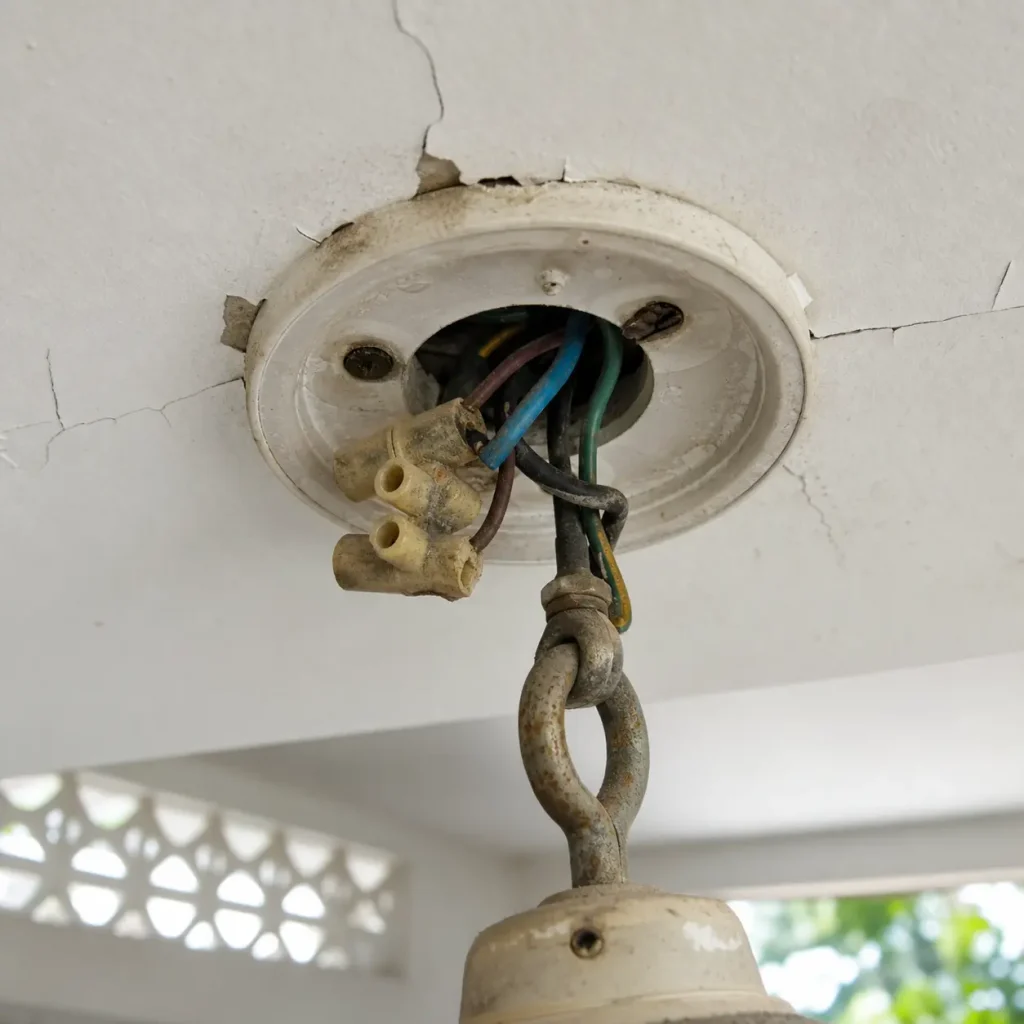
- Burn marks — blackened wires, melted connectors, or a burnt smell around the ceiling rose.
- Loose ceiling structure — a fan hook that moves, cracked plaster around the mounting point, or a weak false ceiling board.
- Unknown wiring — wires that do not match the manual, old colour codes, multiple joined cables, or no clear live and neutral.
- Water damage — ceiling stains near the fan point, especially below an upper-floor bathroom or roof area.
- Repeated tripping — the fan switch or breaker trips when the fan is turned on.
- New fan point needed — any job that requires fresh wiring through the ceiling or wall.
For a broader beginner tool setup before attempting home repairs, FixRight’s guide to essential homeowner tools is a useful starting point.
Phase 2: Prepare the Tools, Fan, and Work Area
Good preparation makes the replacement smoother and safer. Most ceiling fan problems during DIY installation come from rushing — missing screws, using the wrong ladder, or not checking the bracket.
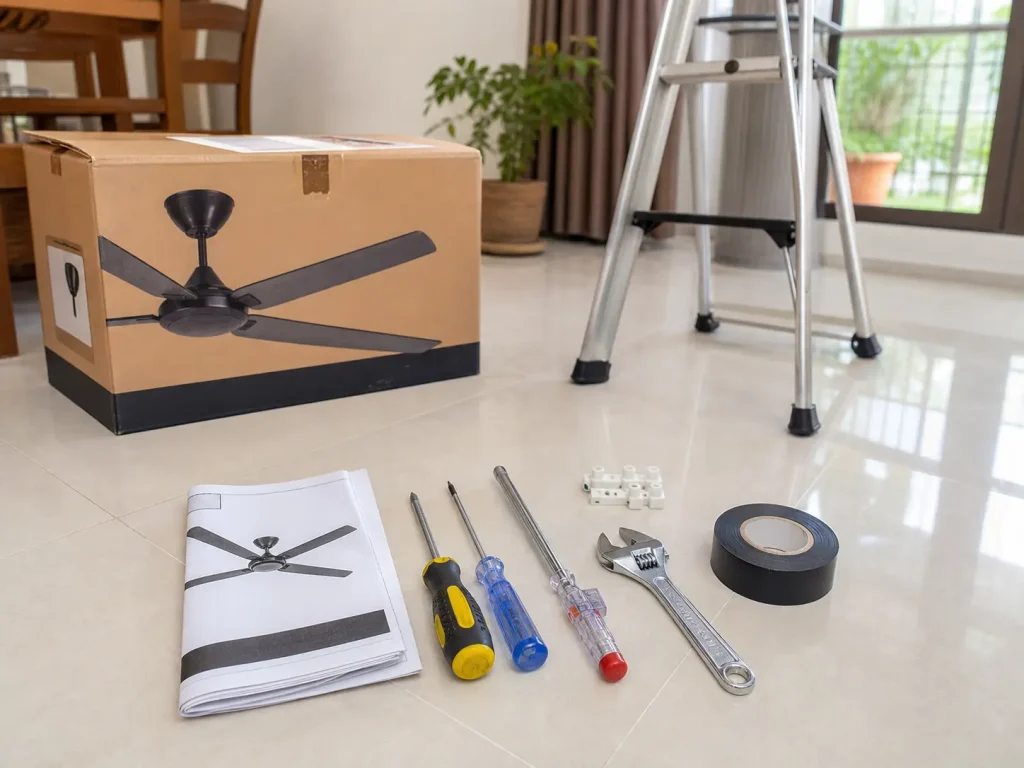
Tools and Materials You May Need
| Item | Why You Need It |
|---|---|
| Stable ladder or platform ladder | To reach the fan safely without over-stretching |
| Test pen or non-contact voltage tester | To check that power is off before touching wires |
| Screwdriver set | To remove covers, terminals, canopy screws, and bracket screws |
| Adjustable spanner | To tighten fan rod, hook, or bracket hardware |
| Wire connector or terminal block | To secure electrical connections properly |
| Electrical tape | For insulation support, not as a replacement for proper connectors |
| New ceiling fan manual | To confirm wiring, bracket, blade, and remote receiver steps |
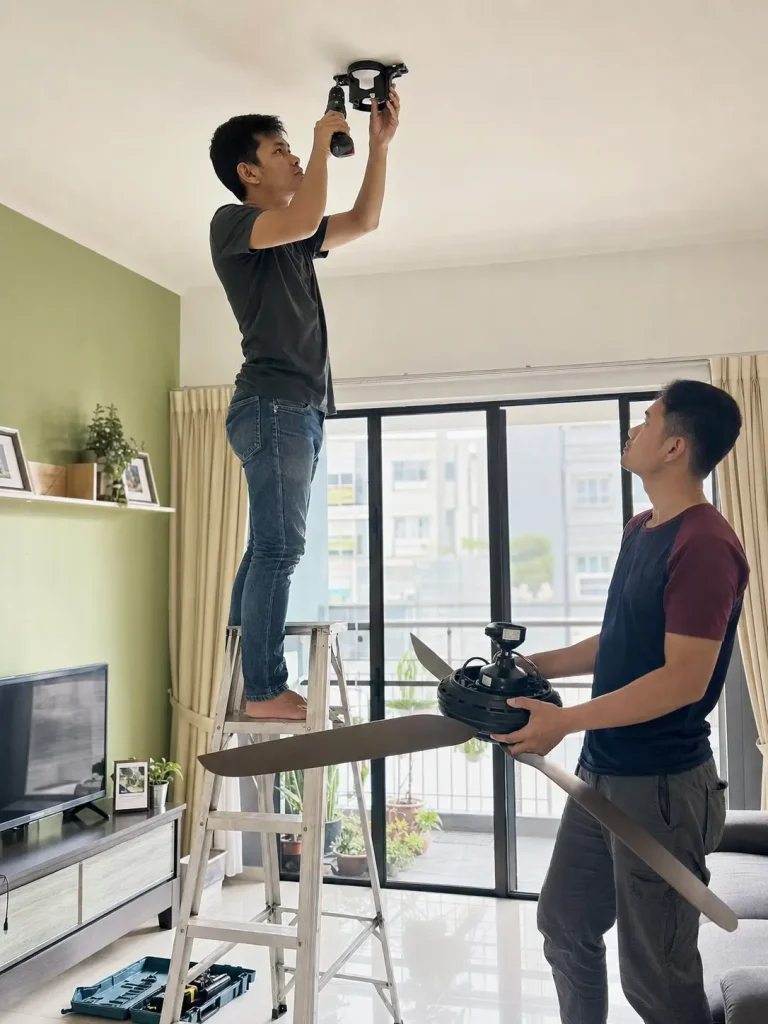
| Helper | To hold parts, pass tools, and support the fan motor |
If you are buying a ladder for this kind of ceiling job, choose one that lets you work at chest height rather than reaching above your head for too long. This guide on choosing the right ladder for Malaysian homes explains ladder height and stability in more detail.
Check the New Fan Before Installation
Open the box and check everything before removing the old fan. You should have the motor unit, blades, mounting bracket or hook parts, downrod if supplied, canopy covers, screws, washers, remote receiver if included, and the instruction manual.
Do not assume all ceiling fans install the same way. A basic regulator fan, remote-control DC fan, and decorative fan with light kit may have different wiring and mounting requirements.
Clear the Room
Move furniture away from the fan area and place a cloth or old cardboard on the floor. Keep removed screws in a small container.
Also avoid working alone if the fan is large. The motor can be awkward to support while you align wires and mounting parts.
Phase 3: How to Change a Ceiling Fan Safely
This is the core replacement process for a typical ceiling fan swap. The exact order may vary depending on your fan model, so always follow the manufacturer’s manual where it differs from general advice.
Turn Off the Power at the DB Box
Switch off the fan at the wall switch first, then go to the DB box and switch off the relevant circuit breaker. If your DB box is not clearly labelled, switch off the main power.
Test at the fan point before touching any wires. A wall switch being off is not enough.
Remove the Old Fan Blades
Start by removing the old fan blades. This reduces weight and makes the motor easier to handle.
Support each blade as you remove the screws so it does not twist and damage the blade arm.
Remove the Canopy and Photograph the Wiring
Slide or unscrew the canopy cover near the ceiling to expose the wiring and mounting point. Before disconnecting anything, take a clear photo of the existing wiring from two angles.
Use the photo only as a reference while comparing the old setup with the new fan manual.
Disconnect and Lower the Old Motor
Support the old motor while loosening the connector and mounting hardware. If the fan is on a hook, lift it slightly before lowering it. If it uses a bracket, check how the motor locks into the bracket before releasing it.
Do not let the fan hang from the wires. The wires are not designed to carry the motor weight, even for a few seconds.
Inspect the Ceiling Hook or Mounting Bracket
Before installing the new fan, inspect the ceiling support. In many Malaysian homes, the fan point is fixed into a concrete ceiling, while some renovated homes use false ceilings that need proper reinforcement.
Look for rust, movement, cracks, loose screws, missing washers, or a hook that has opened up. If the mounting point is not solid, the new fan should not go up yet.
Install the New Fan Bracket or Downrod
Fit the bracket, hook adapter, or downrod parts according to the manual. Tighten hardware firmly without stripping small screws.
For remote-control fans, the receiver usually sits inside the canopy. Make sure it is positioned neatly and not crushed between the canopy and ceiling.
Connect the Wires Correctly
Most replacement jobs involve connecting live, neutral, and sometimes earth according to the fan manual. Wire colours can vary in older Malaysian homes, especially where wiring has been modified before.
Use proper connectors or terminal blocks. Electrical tape is only a support material — the actual joint must be mechanically secure.
Fit the Motor, Canopy, and Blades
Once wiring is secure, mount the fan motor fully onto the bracket or hook. Install any safety pin, locking screw, or retaining clip.
Fit the canopy without pinching cables. Then install the blades according to the numbering or orientation in the manual, tightening each blade evenly.
Phase 4: Test the Fan Before You Call It Done
Testing is not just about whether the fan spins. You also want to confirm that the fan is stable, quiet, and correctly controlled.
First Power-On Check
Move everyone away from directly under the fan before turning the power back on. Switch on the circuit at the DB box, then use the wall switch or remote to test the fan at low speed first.
Watch and listen carefully for the first minute. Turn the fan off immediately if you notice a burning smell, popping sound, flickering light, severe wobble, or tripping.
Wobble and Noise Check
A small amount of movement can happen, especially with long downrods, but a strong wobble is not normal. Check that the blades are installed in the correct order, blade screws are tight, and the motor is fully seated in the bracket.
If the fan still wobbles after basic checks, use the balancing kit supplied by the manufacturer.
Remote, Regulator, and Light Kit Check
For remote fans, test every speed, reverse mode if available, timer, and light function. If the fan uses a wall regulator, confirm that the fan model is compatible with it. Some modern DC fans should not be used with old-style fan regulators unless the manual says so.
Compatibility issues are common when replacing older AC fans with newer remote-control models, so follow the manual closely for regulator and receiver setup.
Phase 5: Cost and Buying Checks Before You Replace Ceiling Fan at Home
Ceiling fan replacement Malaysia costs vary depending on the fan type, ceiling height, wiring condition, and whether you are replacing one fan or several. Use the cost table first, then check the buying points before choosing a model.
Typical Ceiling Fan Replacement Cost in Malaysia
| Item or Service | Estimated Range in Malaysia |
|---|---|
| Basic ceiling fan | RM80–RM250 |
| Branded DC remote fan | RM180–RM600+ |
| Decorative fan with light | RM250–RM900+ |
| Basic replacement labour | RM80–RM180 per fan |
| High ceiling or difficult access | RM150–RM300+ per fan |
| New wiring point | Often quoted separately after inspection |
These are general homeowner planning ranges, not fixed prices. Labour can be higher in condos with strict management rules, high ceilings, concealed wiring, or jobs that require extra drilling and support.
Buying Checks and Mistakes to Avoid
- Check ceiling height — low ceilings may need a hugger fan, while high ceilings may need a longer downrod.
- Match room size — a small bedroom does not need the same blade span as a large living room.
- Confirm control type — make sure the fan suits your wall switch, regulator, remote, or app-control setup.
- Check warranty terms — motor warranty and on-site service terms matter more than small feature differences.
- Read the manual first — make sure your existing wiring and ceiling point suit the fan before installation day.
- Working from an unstable chair — use a proper ladder or platform instead.
- Reusing weak mounting hardware — a new fan still needs a solid ceiling hook or bracket.
- Choosing hard-to-clean blades — simple blade shapes are easier to maintain in dusty or humid rooms.
- Ignoring wobble — balance the fan before using it regularly.
Final Thoughts: Make the Replacement Clean and Controlled
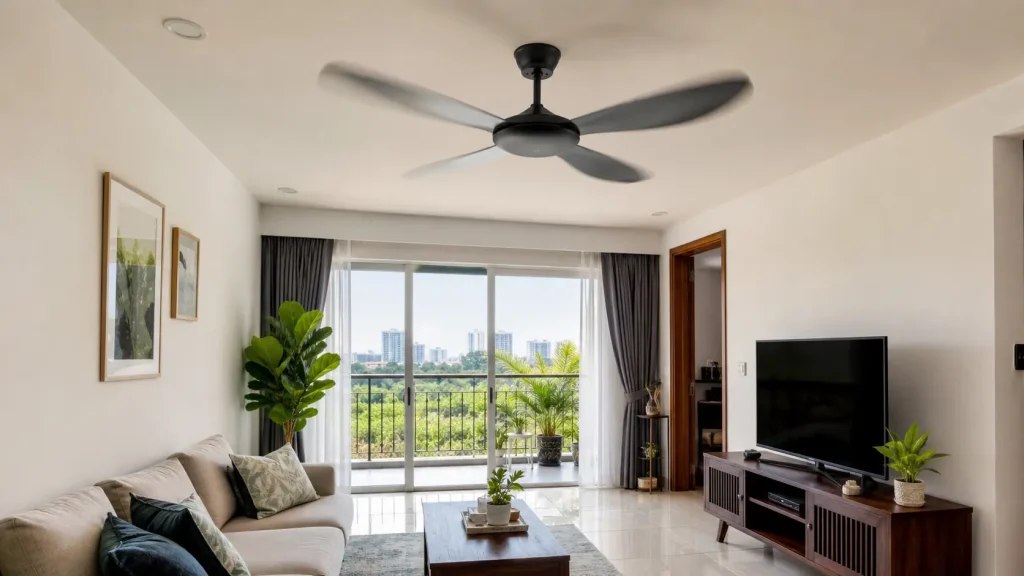
Learning how to change a ceiling fan safely is mainly about controlling the basics: power off, solid mounting point, correct wiring, and a fan model that suits your room.
FixRight is here to help Malaysian homeowners make better repair decisions — whether that means handling a straightforward replacement yourself or spotting when the job has moved beyond basic DIY.
Replace your ceiling fan only when the power, wiring, and mounting point are all safely under control.