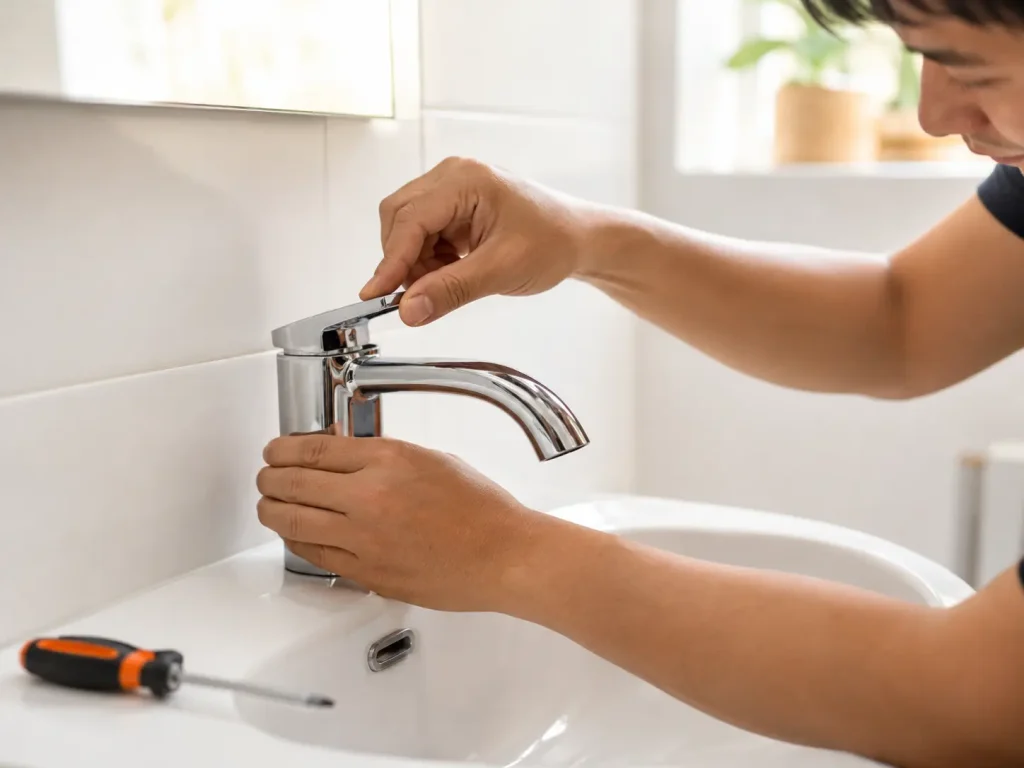

That rhythmic drip coming from your kitchen or bathroom faucet is more than just annoying — it’s money and water literally going down the drain. A single dripping faucet can waste over 11,000 litres of water a year. And calling a plumber for what is often a five-dollar fix? That bill can easily run into the hundreds.
Here’s the good news: fixing a leaky faucet without calling a plumber is one of the most approachable DIY home repairs you can tackle. You don’t need a trade qualification, an expensive toolkit, or a weekend to get it done. Most faucet leaks come down to a worn washer, a cracked O-ring, or a faulty cartridge — parts that cost next to nothing and take under an hour to swap out.
This guide walks you through everything you need to know, from identifying your faucet type to reassembling it like a pro.
Why Faucets Leak — and Why You Shouldn’t Ignore It
A leaky faucet is rarely a sign of a plumbing catastrophe, but it is always a sign that something inside is worn out. The most common culprits are:
- Worn washers — the rubber washer presses against a valve seat every time you use the tap, and it wears down over time
- Damaged O-rings — small rubber rings that seal the faucet stem; when they degrade, water seeps out around the handle
- Faulty cartridges — in cartridge-style faucets, a worn cartridge is usually the single cause of a drip
- Corroded valve seat — sediment buildup can corrode the connection between the faucet and spout, causing leaking around the spout area
Ignoring a dripping tap doesn’t just waste water — it can lead to water stains, mould growth, and long-term damage to your sink and cabinetry. A small fix today prevents a costly repair tomorrow.
Know Your Faucet Type Before You Start
Before you pick up a spanner, you need to know what type of faucet you’re dealing with. The repair method differs depending on the design.
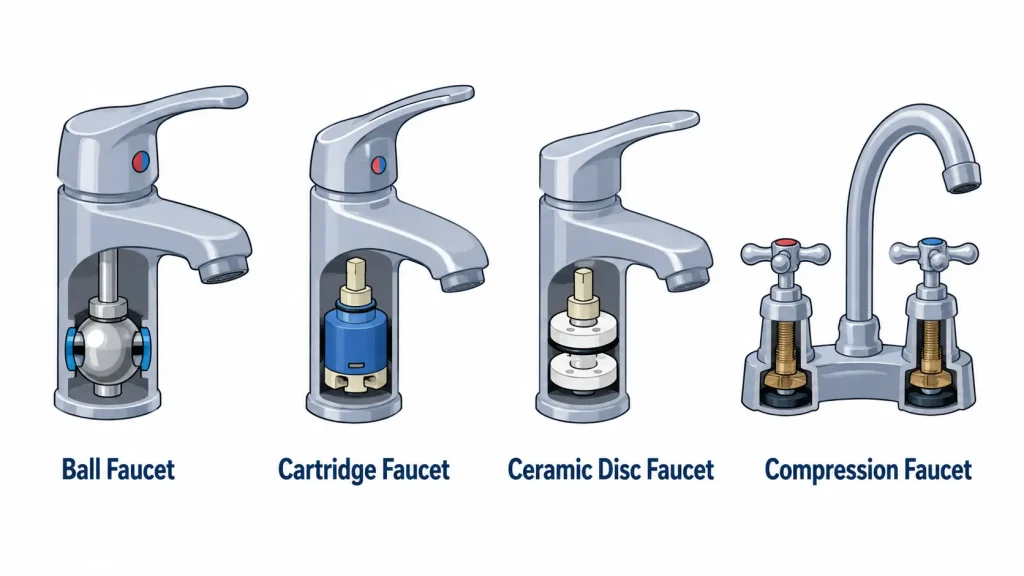
Ball Faucet
Common in kitchens, this single-handle faucet rotates over a rounded ball-shaped cap. It controls both temperature and flow with one handle. When it leaks, worn springs, inlet seals, or O-rings are usually to blame.
Cartridge Faucet
Found in both single- and double-handle configurations, cartridge faucets use a cartridge inside the handle to control water flow. A drip almost always means the cartridge needs replacing — and it’s one of the easiest repairs on this list.
Ceramic Disc Faucet
These use a cylinder with two ceramic discs at the bottom. They’re durable and less prone to leaking, but when they do drip, sediment buildup on the discs is typically the issue.
Compression Faucet
The oldest type, and the most likely to leak. You tighten these to stop water flow. When they drip, it’s nearly always a worn rubber washer at the bottom of the stem.
Tools and Materials You’ll Need
The good news: you likely already own most of this.
Tools:
- Adjustable spanner or wrench
- Flathead and Phillips screwdrivers
- Needle-nose pliers
- Allen key set (hex keys)
- Utility knife
Materials:
- Replacement washer, O-ring, or cartridge (match to your faucet model)
- Plumber’s grease (silicone-based)
- White vinegar (for cleaning mineral deposits)
- Cloth or towel
- Bucket or bowl
Before buying replacement parts, either note down your faucet’s brand and model from underneath the sink, or bring the worn part to the hardware store to match it exactly.
How to Fix a Leaky Faucet: Step-by-Step
Step 1: Turn Off the Water Supply
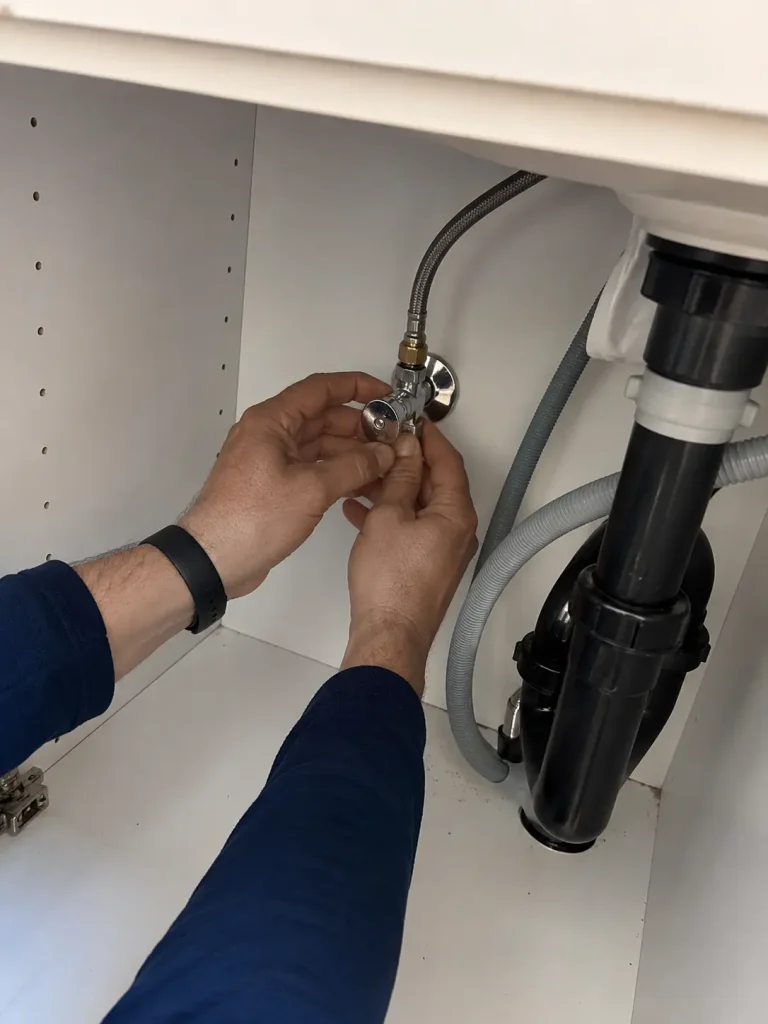
This is non-negotiable. Find the shut-off valves under the sink — one for hot, one for cold — and turn them clockwise until they stop. Then turn on the faucet to release any residual pressure and drain the remaining water in the line.
If there are no under-sink valves, you’ll need to shut off the main water supply to your home.
Place a towel in the sink basin and a small bucket underneath the work area to catch any drips.
Step 2: Remove the Faucet Handle
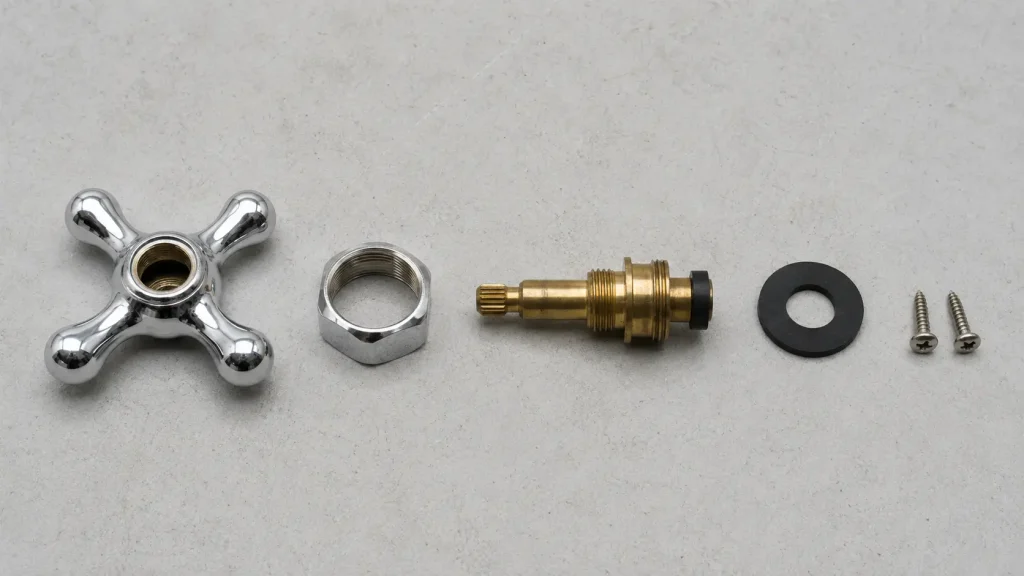
Look for a decorative cap on top of the handle — pop it off with a flathead screwdriver to reveal the screw underneath. Unscrew it and lift the handle straight up. Some handles may need a gentle wiggle or a handle puller if they’ve been in place for years.
Set the handle aside in a safe place. You’ll also want to lay out the parts in the order you remove them — this makes reassembly much easier.
Step 3: Identify the Problem Part
With the handle removed, you’ll see the internal mechanism:
- Compression faucet: Look for the packing nut. Unscrew it to reveal the stem. At the bottom of the stem, you’ll find the rubber washer — this is almost certainly the culprit.
- Cartridge faucet: Pull out the cartridge (a clip may hold it in place). Inspect it for cracks or wear.
- Ball faucet: You’ll see the ball, springs, seats, and O-rings. Replace the full kit for best results — ball faucet repair kits are widely available and inexpensive.
- Ceramic disc faucet: Remove the cylinder and clean the ceramic discs with white vinegar. If they’re cracked, replace the cylinder entirely.
Step 4: Replace the Worn Part
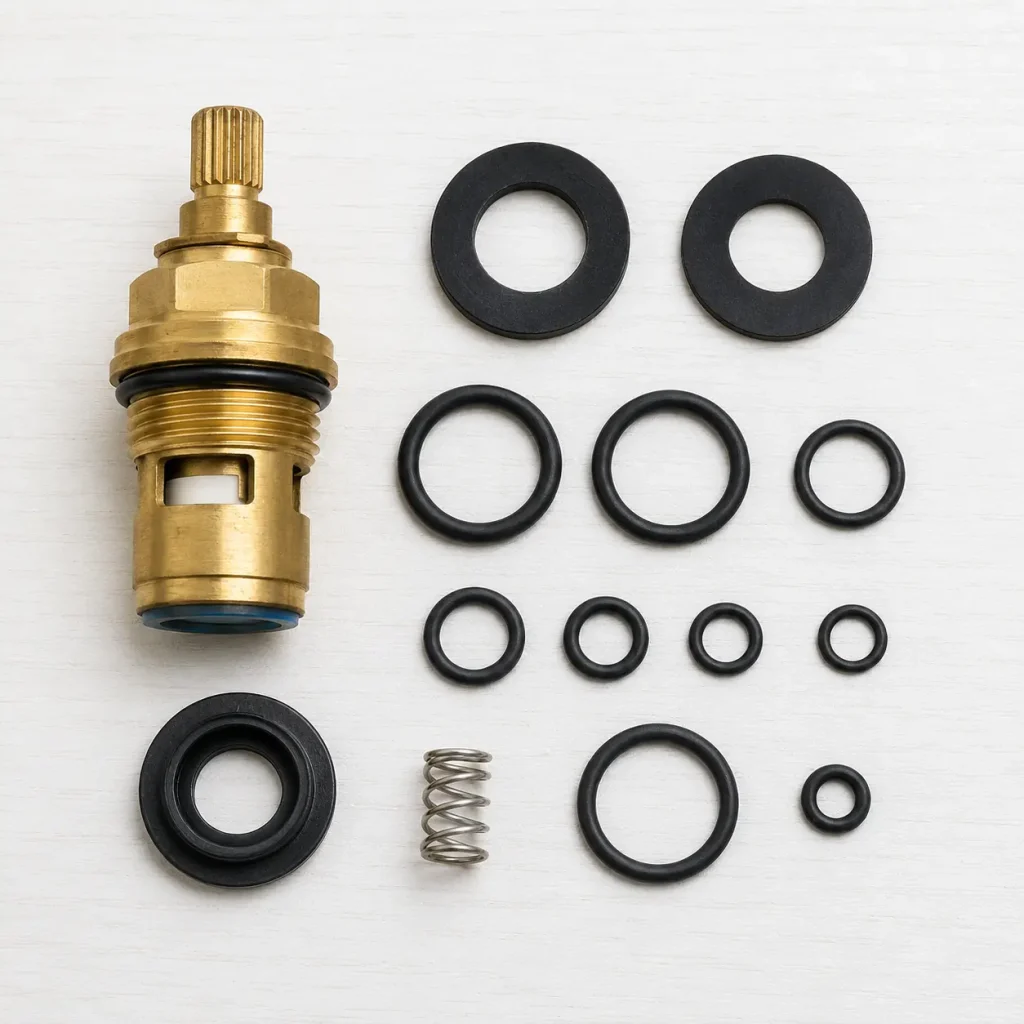
Take the damaged washer, O-ring, or cartridge to your hardware store and match it exactly by size and shape. When in doubt, bring the entire stem or cartridge.
Apply a thin coat of plumber’s silicone grease to the new part before installing it — this extends the life of the seal and makes reassembly easier. Press or screw the replacement part into place firmly but without forcing it.
Step 5: Reassemble and Test
Reverse the steps you took to disassemble the faucet. Work in the opposite order — part by part, tightening as you go. Don’t overtighten; firm is enough.
Once everything is back in place, slowly turn the shut-off valves back on and check for leaks around the base of the handle and at the spout. Turn the faucet on and off a few times to test it.
If the drip is gone — congratulations, you’ve just completed your first DIY faucet repair.
Common Mistakes to Avoid
Even a simple repair can go sideways if you rush it. Watch out for these:
- Forgetting to turn off the water — sounds obvious, but it happens more often than you’d think
- Losing track of parts — lay them out in order as you remove them; a photo on your phone helps
- Using the wrong replacement part — an incorrect washer size will still drip; always match the original
- Overtightening — too much force can crack fittings or strip threads; hand-tight plus a quarter turn is usually sufficient
- Skipping the plumber’s grease — dry rubber seals wear out faster and can make reassembly difficult
When You Should Call a Plumber
DIY faucet repair handles the vast majority of dripping tap situations — but there are times when you genuinely need a professional.
Call a licensed plumber if you notice:
- Water leaking from inside the wall or under the cabinet flooring
- Visible pipe corrosion or green mineral buildup on the supply lines
- Significant water pressure issues throughout your home — this suggests a systemic problem
- The leak returns quickly after your repair — there may be a deeper issue with the valve seat or supply line
- You’re not confident after inspecting the internals — some faucet models are more complex, and there’s no shame in calling for backup
A good rule of thumb: if the fix is at the faucet, do it yourself. If the problem is behind the wall or beneath the floor, call a pro.
You’ve Got This — Start With the Drip
Fixing a leaky faucet without calling a plumber is one of the best introductions to home maintenance you can get. It’s low-risk, low-cost, and deeply satisfying when you turn that tap on for the first time after the repair and hear nothing but silence.
The tools are basic, the parts are cheap, and the steps are repeatable. Once you’ve done it once, you’ll wonder why you ever reached for the phone.
Ready to stop that drip? Gather your tools, identify your faucet type, and work through the steps above. Your water bill — and your sanity — will thank you.