

You grab a sheet of sandpaper, get to work, and ten minutes later — deep scratches across a surface that was supposed to look smooth. Or the opposite: you’ve been sanding for ages and nothing is budging. Sound familiar?
Most people treat sandpaper like it’s all the same. It isn’t. Grit number is everything — and using the wrong one is one of the most common (and most fixable) DIY mistakes out there. This sandpaper grit guide will sort it out once and for all.
What Does Sandpaper Grit Actually Mean?
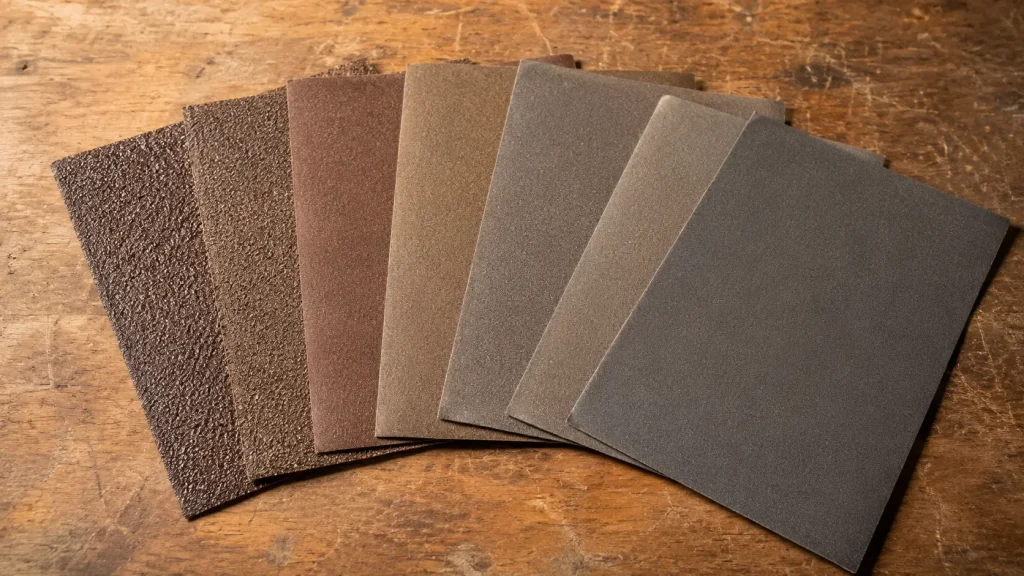
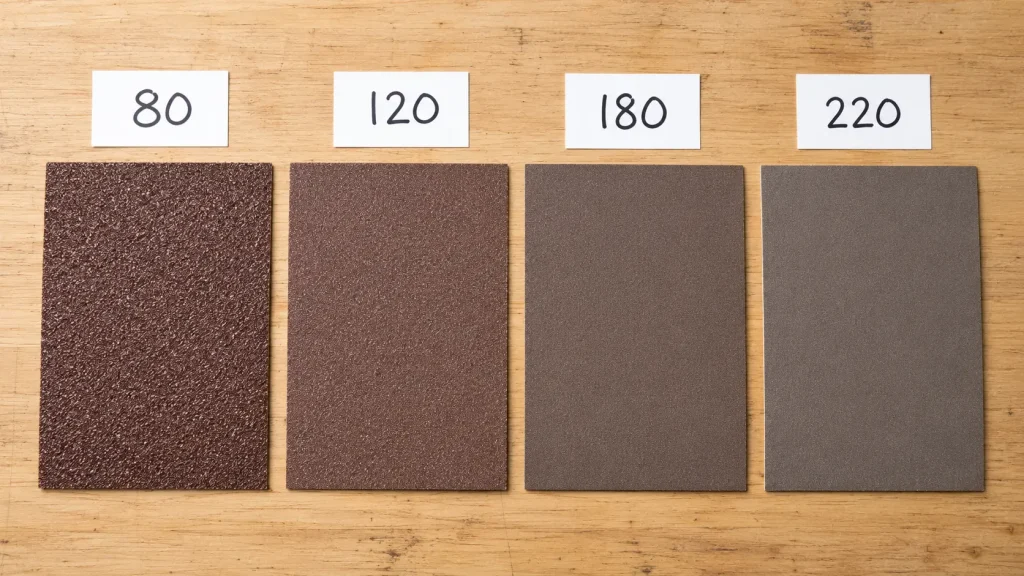
The grit number on sandpaper refers to the number of abrasive particles per square inch. The lower the number, the coarser the paper — and the more aggressively it removes material. The higher the number, the finer the paper, and the smoother the finish.
Think of it like this: 40-grit is a bulldozer. 2000-grit is a polishing cloth. You wouldn’t use a bulldozer to apply foundation, and you wouldn’t use a polishing cloth to clear rubble.
Here’s the essential rule: always start coarser than you think you need, then work your way up.
The Sandpaper Grit Chart: Ranges and What They’re For
40–60 Grit — Very Coarse
This is your heavy artillery. Use it when you need to strip paint, remove varnish, flatten an uneven surface, or reshape wood significantly.
It removes material fast — which also means it leaves deep scratches. Never use this as your final grit. It’s a starting point, not a finishing tool.
Best for: Stripping old paint, rough shaping, removing hardened adhesive, levelling uneven wood planks.
80–120 Grit — Medium
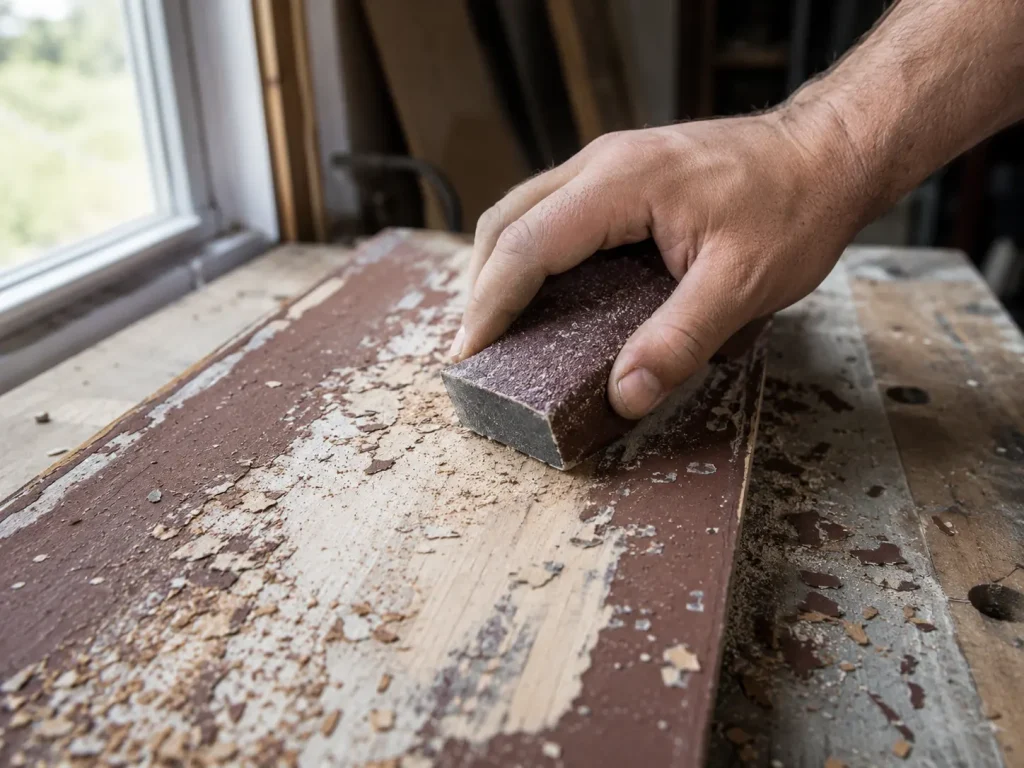
This is the workhorse range. After your initial coarse pass, medium grit refines the surface and removes the scratch marks left behind.
80-grit is still fairly aggressive — great for bare wood prep or removing light finishes. 120-grit begins to smooth things out and is often where many DIYers spend the bulk of their sanding time.
Best for: General wood sanding, removing light stains or old finishes, preparing bare wood for primer, smoothing rough-cut timber.
150–180 Grit — Fine
You’re in finishing territory now. This range is ideal for preparing a surface before you apply paint, stain, or varnish. It removes the scratch pattern from your previous grit without creating new visible marks.
180-grit is particularly popular for pre-finish wood prep — it’s fine enough to be smooth, but still has enough bite to ensure coatings adhere well.
Best for: Pre-paint and pre-stain sanding, smoothing plaster or filler, final wood prep before coating.
220–320 Grit — Very Fine
This is your between-coat sanding grit. After your first coat of paint or varnish has dried, a light pass with 220–320 knocks down any nibs, dust bumps, or brush marks to give your next coat a perfectly keyed surface.
Don’t skip this step if you want a professional-looking finish. It makes a bigger difference than most people expect.
Best for: Sanding between paint or varnish coats, smoothing wood filler, light finishing work on hardwood.
400–600 Grit — Ultra Fine
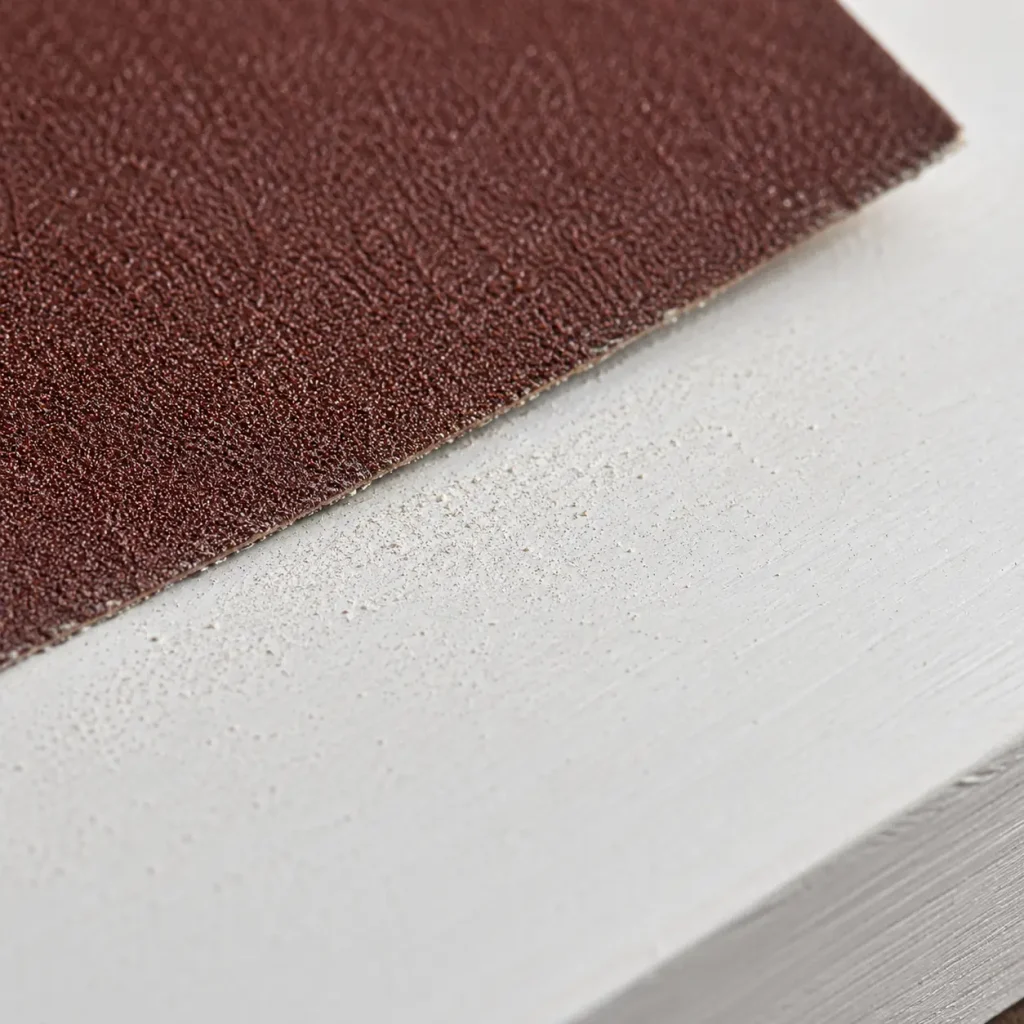
At this range, you’re no longer removing material in any significant way — you’re refining. Ultra-fine sandpaper is used for final finishing passes, wet sanding lacquer, or getting a surface ready for wax or polish.
These grits are commonly used on furniture, cabinetry, and automotive surfaces where a flawlessly smooth finish is the goal.
Best for: Final finishing, wet sanding lacquer or varnish, furniture refinishing, smoothing between clear coats.
800–2000+ Grit — Micro-Fine
This is specialist territory. At 800 and above, you’re typically wet sanding with water or lubricant to achieve a glass-smooth, high-gloss result. Common in automotive finishing and premium furniture work.
Unless you’re chasing a mirror finish or doing professional-level refinishing, you probably won’t need to go here for standard home projects.
Best for: High-gloss lacquer polishing, automotive clear coat finishing, removing minor surface imperfections from cured finishes.
How to Sequence Your Grits Correctly
Here’s where most DIYers go wrong — they jump grits too quickly, or skip steps entirely.
The golden rule: don’t skip more than one grit level in your sequence. If you jump from 60 to 220, the fine paper won’t be able to remove the deep scratches left by the coarse one. You’ll trap those scratch marks under your finish and they’ll show up once the paint or varnish goes on.
A typical sequence for wood finishing looks like this:
- Start at 60–80 grit (if stripping or rough shaping)
- Move to 120 grit (smooth out coarse marks)
- Move to 180 grit (final bare wood prep)
- Apply first coat of finish
- Sand with 220 grit (between-coat)
- Apply final coat
For lighter projects — like sanding already-smooth wood before repainting — you can start at 120 and move straight to 220.
Common Mistakes to Avoid
Starting too fine. Fine grit on a rough surface just glazes over without cutting. Always assess your starting point honestly and begin coarser if needed.
Not sanding enough between coats. A quick scuff isn’t enough — you want to dull the entire surface evenly so the next coat has something to grip.
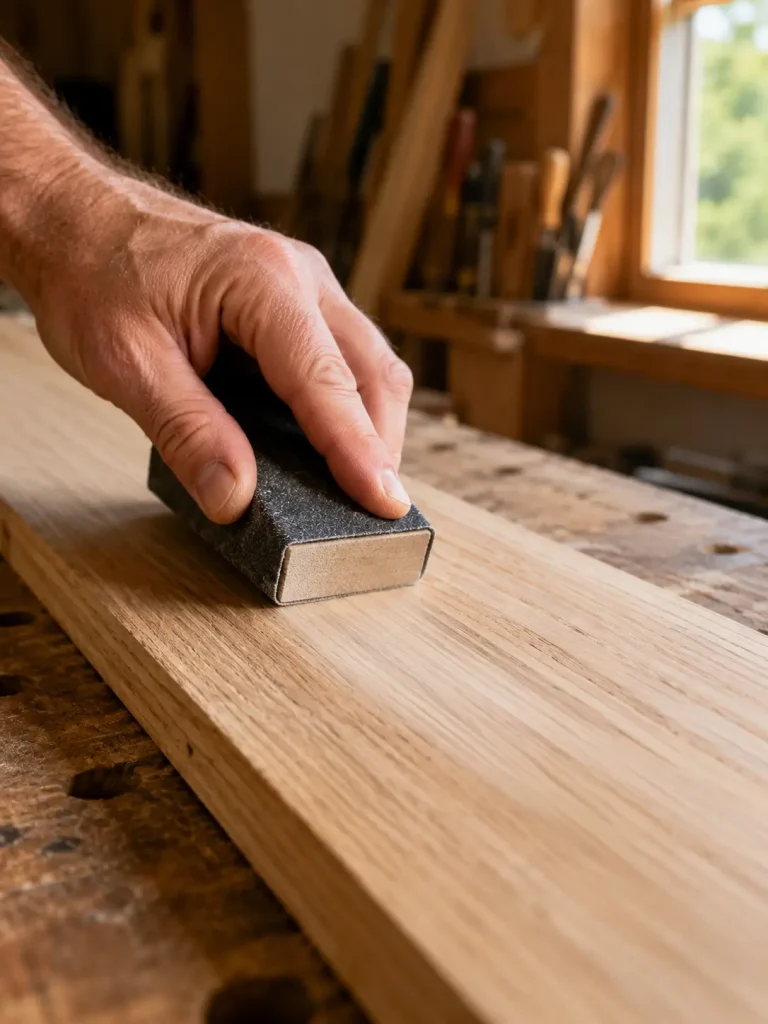
Pressing too hard. Let the abrasive do the work. Excessive pressure causes uneven sanding and can cause fine papers to tear or clog faster.
Ignoring the grain. On wood, always sand with the grain, not across it. Cross-grain scratches are visible under any finish.
Using worn-out paper. Once sandpaper is clogged or loses its bite, it stops cutting and starts burnishing — which actually seals the wood surface and prevents good adhesion.
Quick-Reference: What Grit for What Job
| Job | Starting Grit | Finishing Grit |
|---|---|---|
| Strip paint or varnish | 40–60 | 120 |
| Rough timber / new wood | 80 | 180 |
| Smooth bare wood before staining | 120 | 180–220 |
| Between paint or varnish coats | — | 220–320 |
| Final furniture polish | — | 400–600 |
| High-gloss lacquer / automotive | — | 800–2000 |
Print this out. Stick it in your workshop. You’ll thank yourself later.
Choosing the Right Sandpaper Grit: Final Thoughts
The difference between a project that looks homemade and one that looks professional often comes down to prep — and sandpaper is where prep begins. Using the right grit at the right stage isn’t complicated once you understand the logic. Coarse to cut, medium to refine, fine to finish, ultra-fine to polish.
Work through the sequence, don’t rush it, and you’ll get results that actually hold up.
Ready to get started? Pick up a grit assortment pack so you always have the right sheet on hand — no more grabbing whatever’s closest and hoping for the best.