

You’ve probably used a tape measure hundreds of times. But here’s the thing — most people only read the big numbers and guess at everything in between. That guesswork adds up, and before you know it, your shelf is sitting crooked or your cut piece of timber is a centimetre too short.
Learning how to read a tape measure properly takes about five minutes. What you do with that accuracy lasts a lifetime.
What’s Actually Printed on a Tape Measure
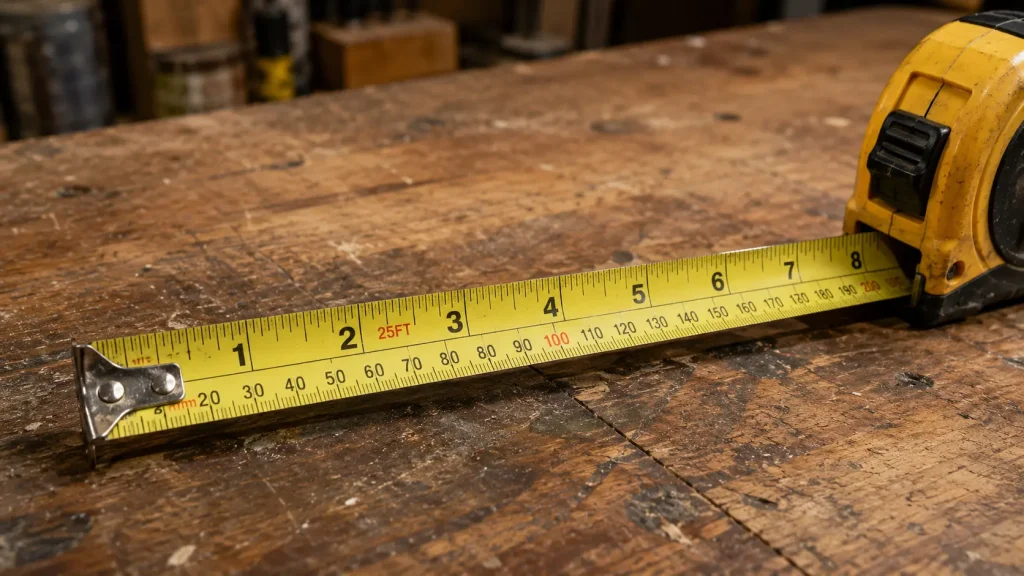
Before anything else, take a look at your tape. Most tape measures sold in Malaysia show metric (centimetres and millimetres) — and that’s all you need.
The Metric Side
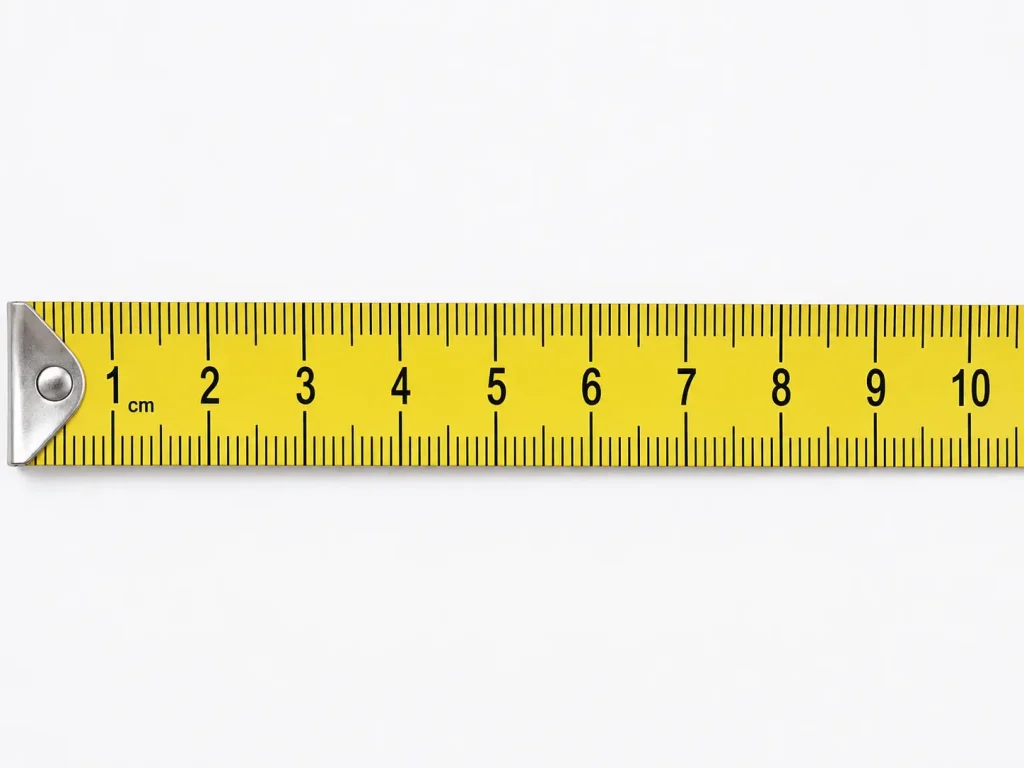
On the metric side, things are more straightforward. Every centimetre is divided into 10 millimetres, and the lines are consistent in meaning:
- Longest line = 1 centimetre (labelled every 1 cm)
- Medium line = 5 millimetres (the halfway mark)
- Short lines = 1 millimetre each
A measurement of 47mm and a measurement of 4.7cm are the same thing — it’s just a matter of which unit you prefer to work in. For most trade work in Australia and Malaysia, millimetres are the standard because there are no fractions involved.
The Loose Hook at the End — It’s Not Broken
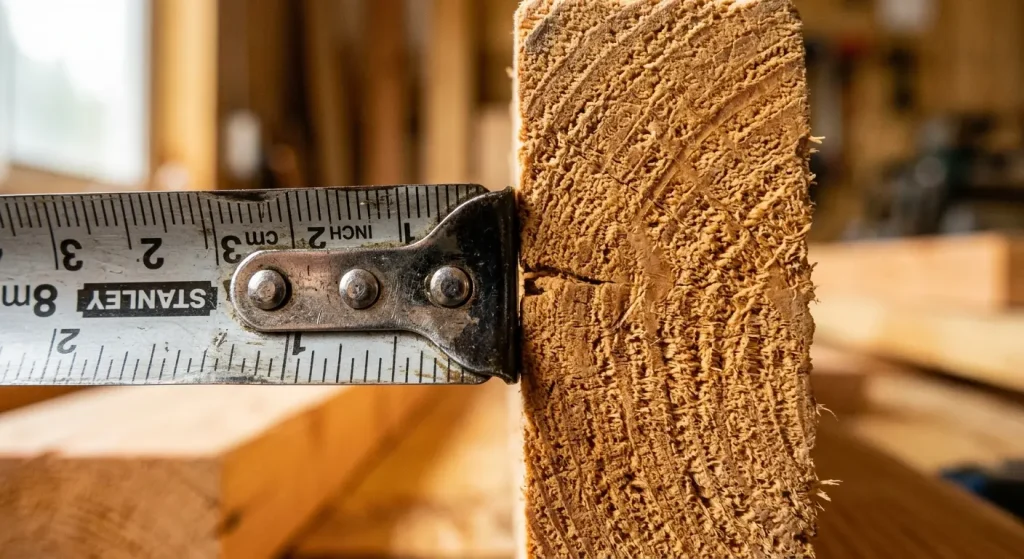
One of the most common questions people ask is: “Why does the metal hook at the end of my tape measure move?”
It’s not a defect. It’s intentional.
The hook is designed to slide by exactly the thickness of itself — typically around 1mm. This accounts for two different ways of measuring:
- Hook on the outside of an object (measuring the full length): The hook slides out slightly, so its outer edge is flush with the end of the material.
- Hook pressed against an inside surface (measuring an internal space): The hook slides in, so the blade measurement starts right at the wall.
If the hook were fixed, one of those measurements would always be off. So next time it wiggles, don’t panic — that’s your tape working as designed.
The Black Diamond Markings (Most People Have No Idea)
If you look carefully at your tape measure, you’ll notice small black diamond shapes at seemingly random intervals — typically at 19.2 inches (or multiples thereof).
These are stud spacing marks, and they’re there to help builders and carpenters quickly identify where to drive fasteners when working with engineered panels and trusses that use a 19.2-inch spacing (rather than the standard 16-inch spacing).
You may also see red numbers every 16 inches. Those mark the standard stud spacing used in most residential wall framing.
Unless you’re framing walls or working with structural panels, you can safely ignore both. But now you know they’re not random.
Common Tape Measure Reading Mistakes to Avoid
Knowing how to read a tape measure also means knowing what not to do.
Mistake 1: Measuring from the 1-inch mark
Some people hook the end of the tape over the edge, find it awkward, and start measuring from the 1-inch mark instead — then forget to subtract that inch at the end. The result: every single measurement is 1 inch too long.
If the hook doesn’t stay put, use a clamp or ask someone to hold the tape in place.
Mistake 2: Reading the wrong edge of the blade
Some tapes have both centimetre and millimetre labelling on different edges, and in a hurry it’s easy to mix them up — especially on older tapes where the print is worn.
Always confirm which edge you’re reading before you mark or cut.
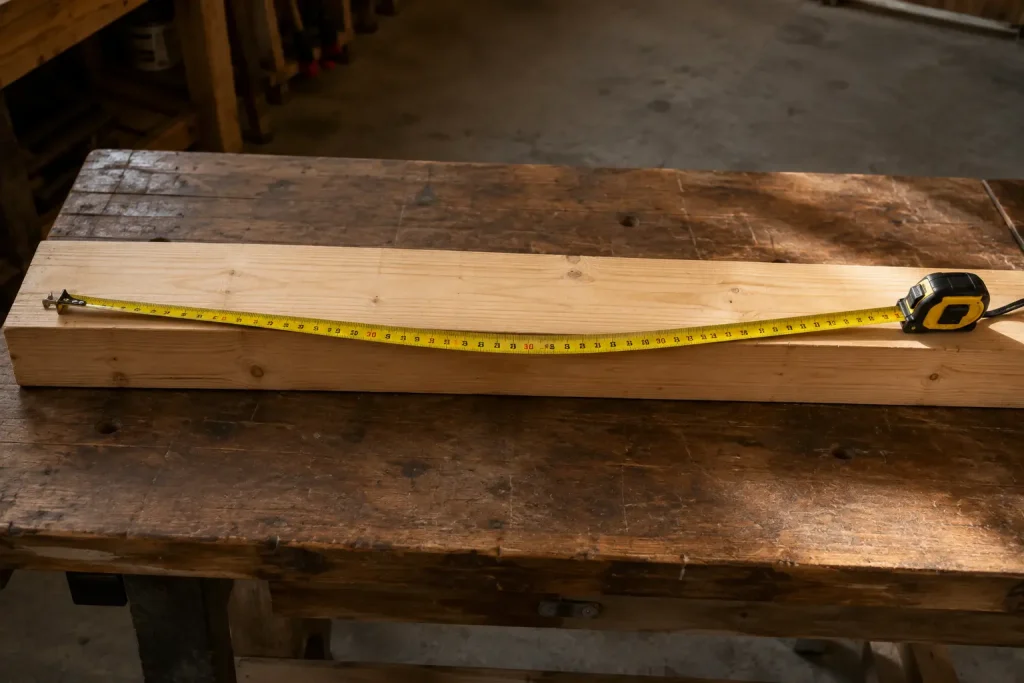
Mistake 3: Not keeping the tape flat
A tape measure that’s sagging or bowing in the middle won’t give you an accurate reading — especially on longer measurements. Keep the blade flat against the surface, or use a straight edge to guide it.
Mistake 4: Estimating fractions by eye
This is the big one. On imperial tapes, the fraction lines are small and closely spaced. If you’re not counting lines carefully, you will make errors. Slow down, count from the last whole-inch or half-inch mark, and confirm the fraction before you mark.
How to Take Accurate Measurements Every Time
Once you understand the markings, a few habits will make your measurements consistently reliable.
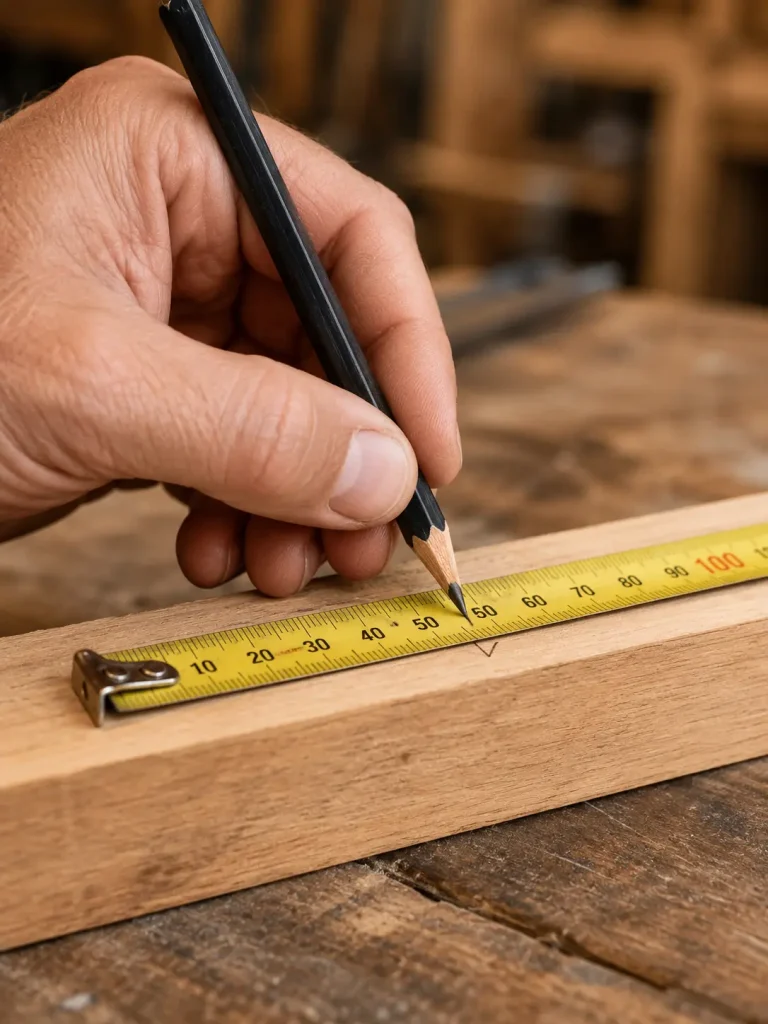
Use a sharp pencil, not a pen. Pen lines are thick and can shift your cut point by 1–2mm. A sharp pencil gives you a fine, accurate line.
Mark with a V, not a line. Instead of drawing a horizontal line at your measurement point, mark a small “V” with the point touching the exact measurement. It’s faster to see and more precise to cut to.
Measure twice, cut once. It’s a cliché because it’s true. Re-check your measurement before any cut, especially when you’re working close to the minimum usable length of a piece.
Use the same tape for the whole job. Tape measures aren’t perfectly calibrated against each other. Switching between two tapes mid-project can introduce small but cumulative errors.
A Quick Metric Reference
Still building confidence with metric? Here’s a simple cheat sheet:
- 1 metre = 100 centimetres = 1000 millimetres
- Most trades work in millimetres to avoid decimal confusion (e.g. 450mm instead of 45cm or 0.45m)
- The smallest lines on a metric tape are 1mm apart
- Read from the last labelled centimetre mark, then count the small lines to get your millimetre value
Example: If the blade falls on the 3rd small line past the 14cm mark, your measurement is 143mm.
Choosing the Right Tape Measure for the Job
Not all tape measures are created equal. Here’s what to consider:
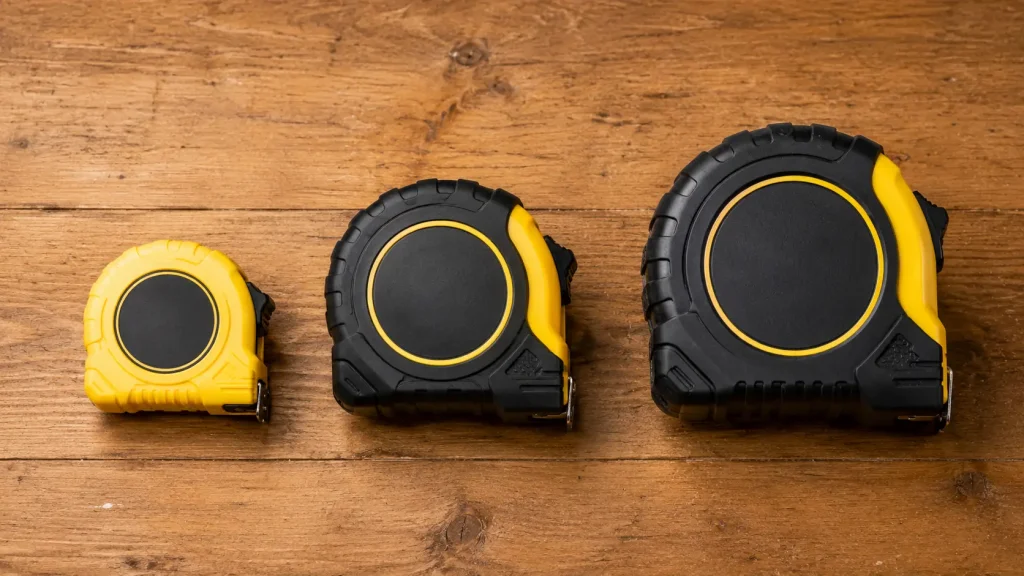
Length. A 5-metre tape is fine for furniture and interior work. For larger construction or landscaping, a 7.5m or 10m tape gives you more range without having to reposition.
Blade width. Wider blades (25–32mm) hold their shape better when extended over longer distances without a surface to rest on — useful when you’re measuring solo.
Locking mechanism. A solid lock button keeps the blade in place while you mark. Test it before you buy — cheaper tapes often have locks that slip.
Magnetic hook. Useful for metalwork, or for hooking onto screws and bolts as an anchor point.
Now You’re Reading a Tape Measure Like a Pro
How to read a tape measure isn’t complicated — but the small things make a big difference. Once you understand what each line means, how the hook works, and which habits to build, your measurements will be tighter, your cuts will be cleaner, and you’ll stop second-guessing yourself mid-project.
Take a minute next time you pick up your tape to read the markings properly. Then count the lines. You might be surprised how much more accurate your work becomes.
Working on a home renovation or DIY project and want to make sure you’re set up with the right tools and know-how? Explore more guides at FixRight — practical advice for real jobs.